Thanksgiving 3D Turkey Cutout

Thanksgiving 3D Turkey Cutout
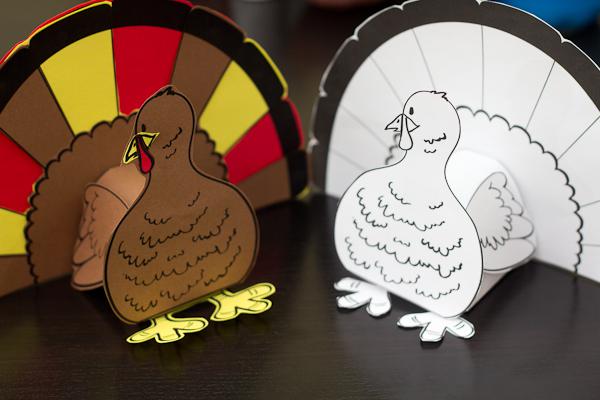
Download a FREE 3D turkey cutout for your kids! Also, follow our simple step by step instructions on how to put it all together.
Details:
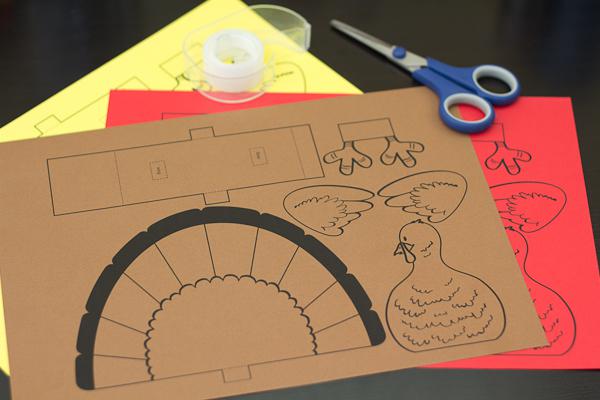
MATERIALS
- Printed turkey cutout
- Tape or glue
- Scissors
- Crayons, colored pencils, or markers
TURKEY CUTOUT STEP BY STEP
1. Download and print the turkey cutout. I made a couple prints on different colors, so I could cutout the appropriate parts in their respective color. But, to keep things much more simple for kids just use regular white paper, and let them color it before cutting out.
2. Cut out all the parts of the turkey.
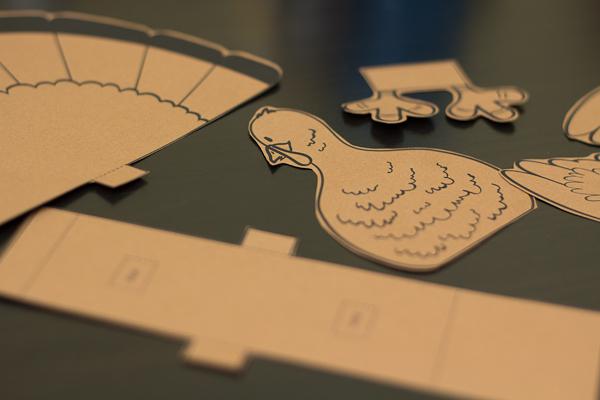
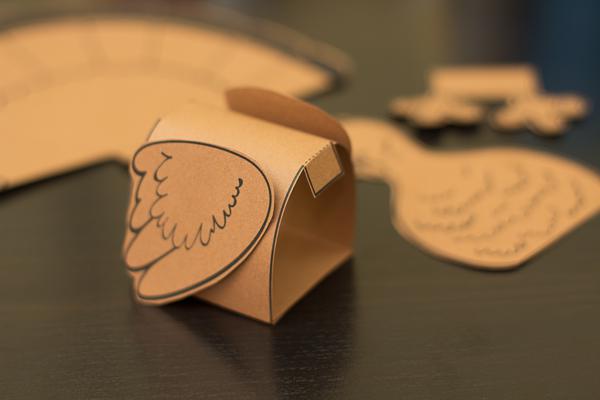
3. First assemble the body shape, be sure to fold on the dotted lines.
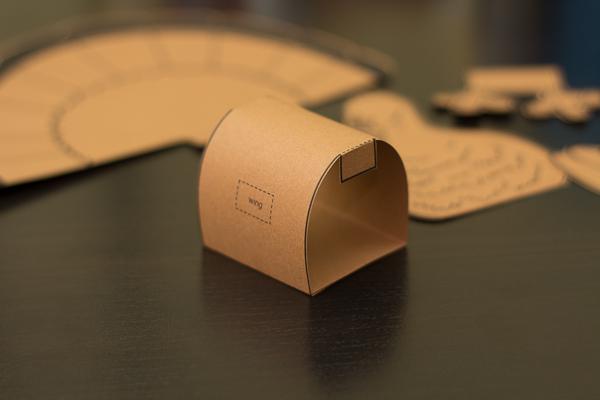
4. Next tape or glue the wings to each side of the body.
5. Glue or tape feet to the bottom of the body piece.
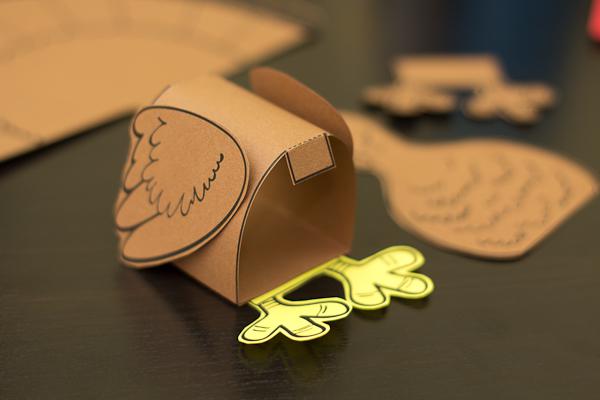
6. Next attach the head piece to the body. I left the bottom of the head piece free, making it easier to attach the tail in the next step.
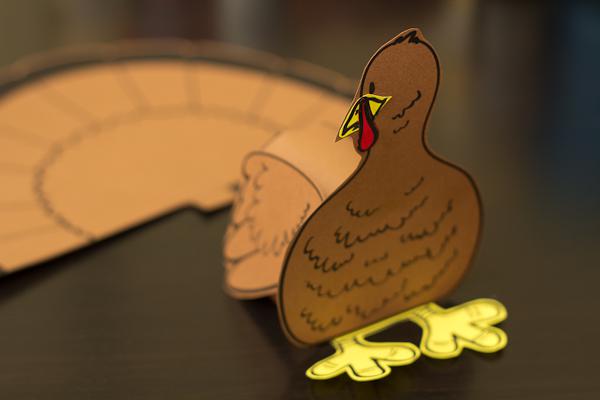
7. Last, add the tail. I layered the tail with three copies to make it more colorful. Again, for a much easier project simply let your kids color a white tail with crayons or markers.

That’s it! This last picture shows the turkey in plain white, it’s still pretty fun, right? Let your kids go nuts and color it as crazy as they want!
Here’s a variation on this project when using white paper – a 3D Thankful Turkey Project, where kids can write about things they are thankful for.