Origami Christmas Trees / Arbres de Noël en origami
Origami Christmas Trees / Arbres de Noël en origami
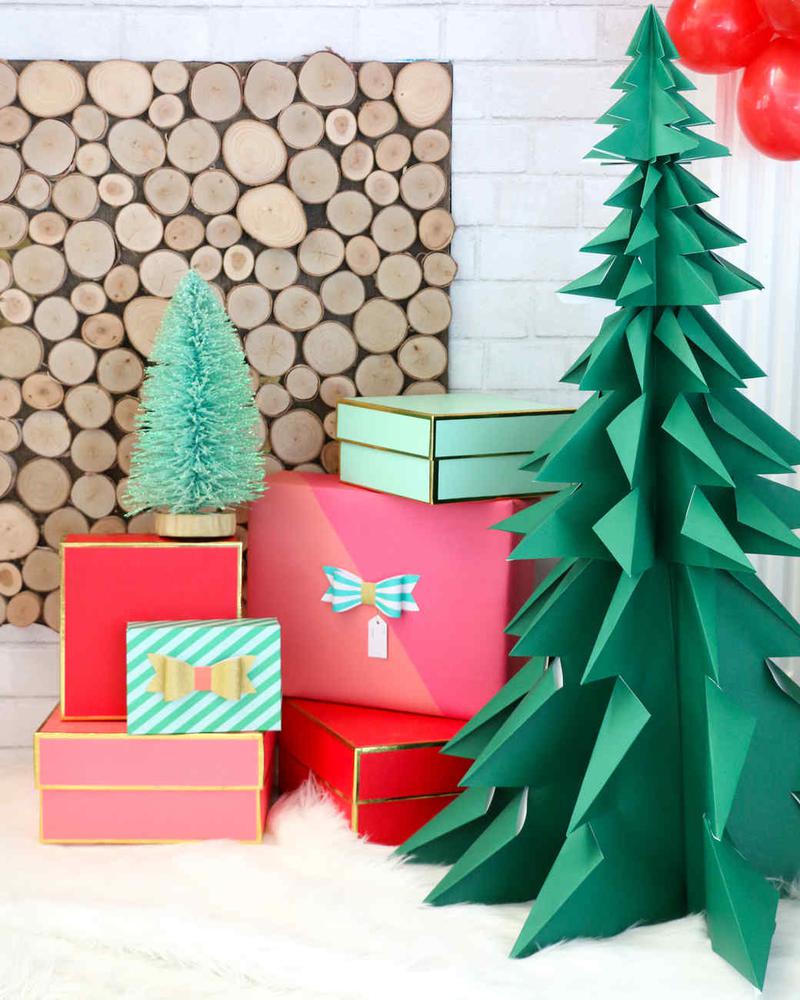
Follow our easy tutorial on how to make origami Christmas trees. If you can fold and cut a piece of paper, you can create a forest of these festive decorations in any size.
These folded paper tree creations make for the perfect Christmas Decorations. There are two ways to make a tannenbaum: one with straight edges for a modern look and one with an upturned edge to mimic real branches.
___________________
Suivez notre tutoriel facile sur la façon de fabriquer des arbres de Noël en origami. Si vous pouvez plier et couper un morceau de papier, vous pouvez créer une forêt de ces décorations festives de n'importe quelle taille.
Ces créations de sapins en papier plié sont parfaites pour les décorations de Noël. Il y a deux façons de faire un tannenbaum : une avec des bords droits pour un look moderne et une avec un bord relevé pour imiter de vraies branches.
MATERIALS / MATÉRIAUX
-
Green paper roll / Rouleau de papier vert
STEPS / ÉTAPES
-
Cut paper into squares. For large trees, you will need one 4-by-4-foot square, one 3-by-3-foot square, and one 2-by-2-foot square. For all other smaller trees, one square (of any size) will yield one tree.
// Coupez le papier en carrés. Pour les grands arbres, vous aurez besoin d'un carré de 1,5 x 1,5 m, d'un carré de 1,5 x 1,5 m et d'un carré de 2 x 2 m. Pour tous les autres petits arbres, un carré (de n'importe quelle taille) donnera un arbre.

-
Fold paper square corner to corner, producing a triangle. Next, fold that triangle in half to create a smaller triangle. Open the paper back up and fold in half to create a rectangle and then fold the rectangle in half to create a square. Unfold to reveal the crease lines.
// Pliez le papier coin à coin, en formant un triangle. Ensuite, pliez ce triangle en deux pour créer un triangle plus petit. Ouvrez à nouveau le papier et pliez-le en deux pour créer un rectangle, puis pliez le rectangle en deux pour créer un carré. Dépliez pour faire apparaître les lignes de pliage.

-
Next, tuck the two sides towards the center line to create a diamond shape. // Ensuite, replier les deux côtés vers la ligne centrale pour créer une forme de diamant.

-
Fold in the left and right side flaps to the center line on both sides to form a kite shape. // Repliez les rabats latéraux gauche et droit sur la ligne centrale des deux côtés pour former une forme de cerf-volant.

-
Taking one side at a time, open the fold and fold the edge inward towards the center of the kite. Repeat with all four flaps. // En prenant un côté à la fois, ouvrez le pli et repliez le bord vers l'intérieur, vers le centre du cerf-volant. Répétez l'opération avec les quatre rabats.

-
Use your scissors to cut off the bottom triangle of the kite shape as shown. Make sure that you are cutting off the open tip and not the folded tip. //
Utilisez vos ciseaux pour découper le triangle inférieur de la forme du cerf-volant comme indiqué. Assurez-vous que vous coupez la pointe ouverte et non la pointe repliée.
-
At this point you can spread out the flaps slightly to create your straight-edged tree. For the folded edge tree, continue on to step 8. // A ce stade, vous pouvez légèrement écarter les rabats pour créer votre arbre à bord droit. Pour l'arbre à bord replié, passez à l'étape 8.

-
Using scissors, cut horizontal lines into each of the 6 flaps. (The size of the lines will vary depending on the size of tree you are making, but we recommend to cut approximately half-way in towards the center of each flap.)
// À l'aide de ciseaux, découpez des lignes horizontales dans chacun des 6 rabats. (La taille des lignes variera en fonction de la taille de l'arbre que vous faites, mais nous recommandons de couper environ à mi-chemin vers le centre de chaque rabat).
-
Fold the cut lines down to create small triangles; repeat around all 6 sides of the tree. // Pliez les lignes de coupe vers le bas pour créer de petits triangles ; répétez l'opération sur les 6 côtés de l'arbre.

-
For large paper trees, once all three squares have been folded into trees, simply stack them one on top of the next (starting with the largest tree on the bottom) to create a tall origami paper tree.
// Pour les grands arbres en papier, une fois que les trois carrés ont été pliés en arbres, il suffit de les empiler l'un sur l'autre (en commençant par le plus grand arbre en bas) pour créer un grand arbre en papier origami.
Details:
Hosted by Martha Stewart